Mechanical Vise
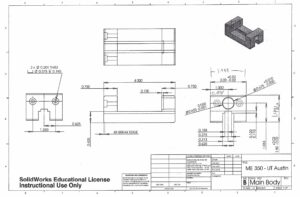
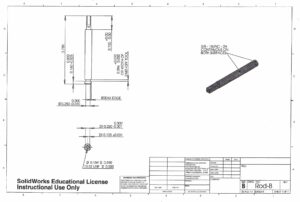
Objective: Using technical drawings in GD&T, machine various aluminum and brass parts to fabricate a functional vise.
This project served as the final exam of my machine tools operation course.


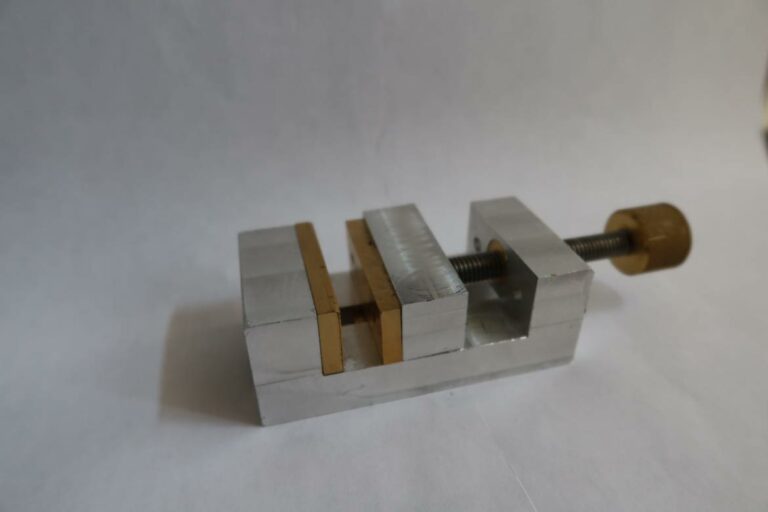
The vise is operated by rotating a lead screw engaged with a threaded bushing which drives the two brass faceplates together. The components were machined with precision using a manual mill and lathe. A final finishing pass of 0.002″ was applied to achieve the desired tolerance, and the edges were deburred and smoothed using a belt sander.
A key takeaway from this project was recognizing the importance of using a lathe for drilling the center of cylindrical stock, rather than relying on an edge finder on a manual mill. My initial approach led to a skewed center hole in the bearing, causing the lead screw to deviate slightly to the left. While the vise is still fully functional, this experience emphasized the critical importance of precision machining to maintain proper alignment and accuracy during assembly.


